

Defect Report Writing

Matachi Ononuju, popularly known as "Madam QA," is a Software Quality Assurance Engineer and Community Strategist dedicated to the art of building reliable software. She helps Digital Products scale with confidence by transforming technical complexity into seamless user experiences. Matachi bridges the gap between manual testing and advanced automation.
Hey Fam 👋, today we’re diving into defect reporting and how to do it effectively.
If you’re like me and you love learning (and unlearning), this article is definitely for you. Defect report writing has been a journey for me. At first, I used to overstuff reports with too much information, and then I swung the other way, leaving out details that developers actually needed. Finding the right balance has been a real learning curve. Why does this matter? Because a poorly written defect report can waste time, frustrate developers, and even delay a release. A clear one saves everyone headaches.
In this post, I’d love to break down what defects are, what defect reporting really means, and why it’s such an important part of our QA space.
What's a defect?
Think of a defect as the gap between what the software is supposed to do and what it actually does. For example, if you click a ‘Save’ button and instead of saving your work, the app crashes, that’s a defect.
What’s Defect Report Writing?
Now, how do we pass this information over to the team, letting them know things aren't working as expected?
Well, that's where defect report writing comes in.
Writing a defect report is the process of precisely and concisely describing a flaw so that developers, or whoever is resolving the problem, can comprehend, replicate, and fix it. Giving the appropriate details is more important than simply stating that "something is broken":
Here's how we break it down.
What happened (the issue/bug)
Where it happened (environment, device, page, feature, etc.)
Steps to reproduce it
What you expected vs. what you actually saw
Any supporting evidence + Severity/Priority (screenshots, logs, videos)
To put it briefly, a well-written defect report explains the issue so that developers don't have to do any detective work. 🕵️♀️
This is the difference between a report that gets fixed fast and one that gets sent back for details. Take a look at the two examples below:
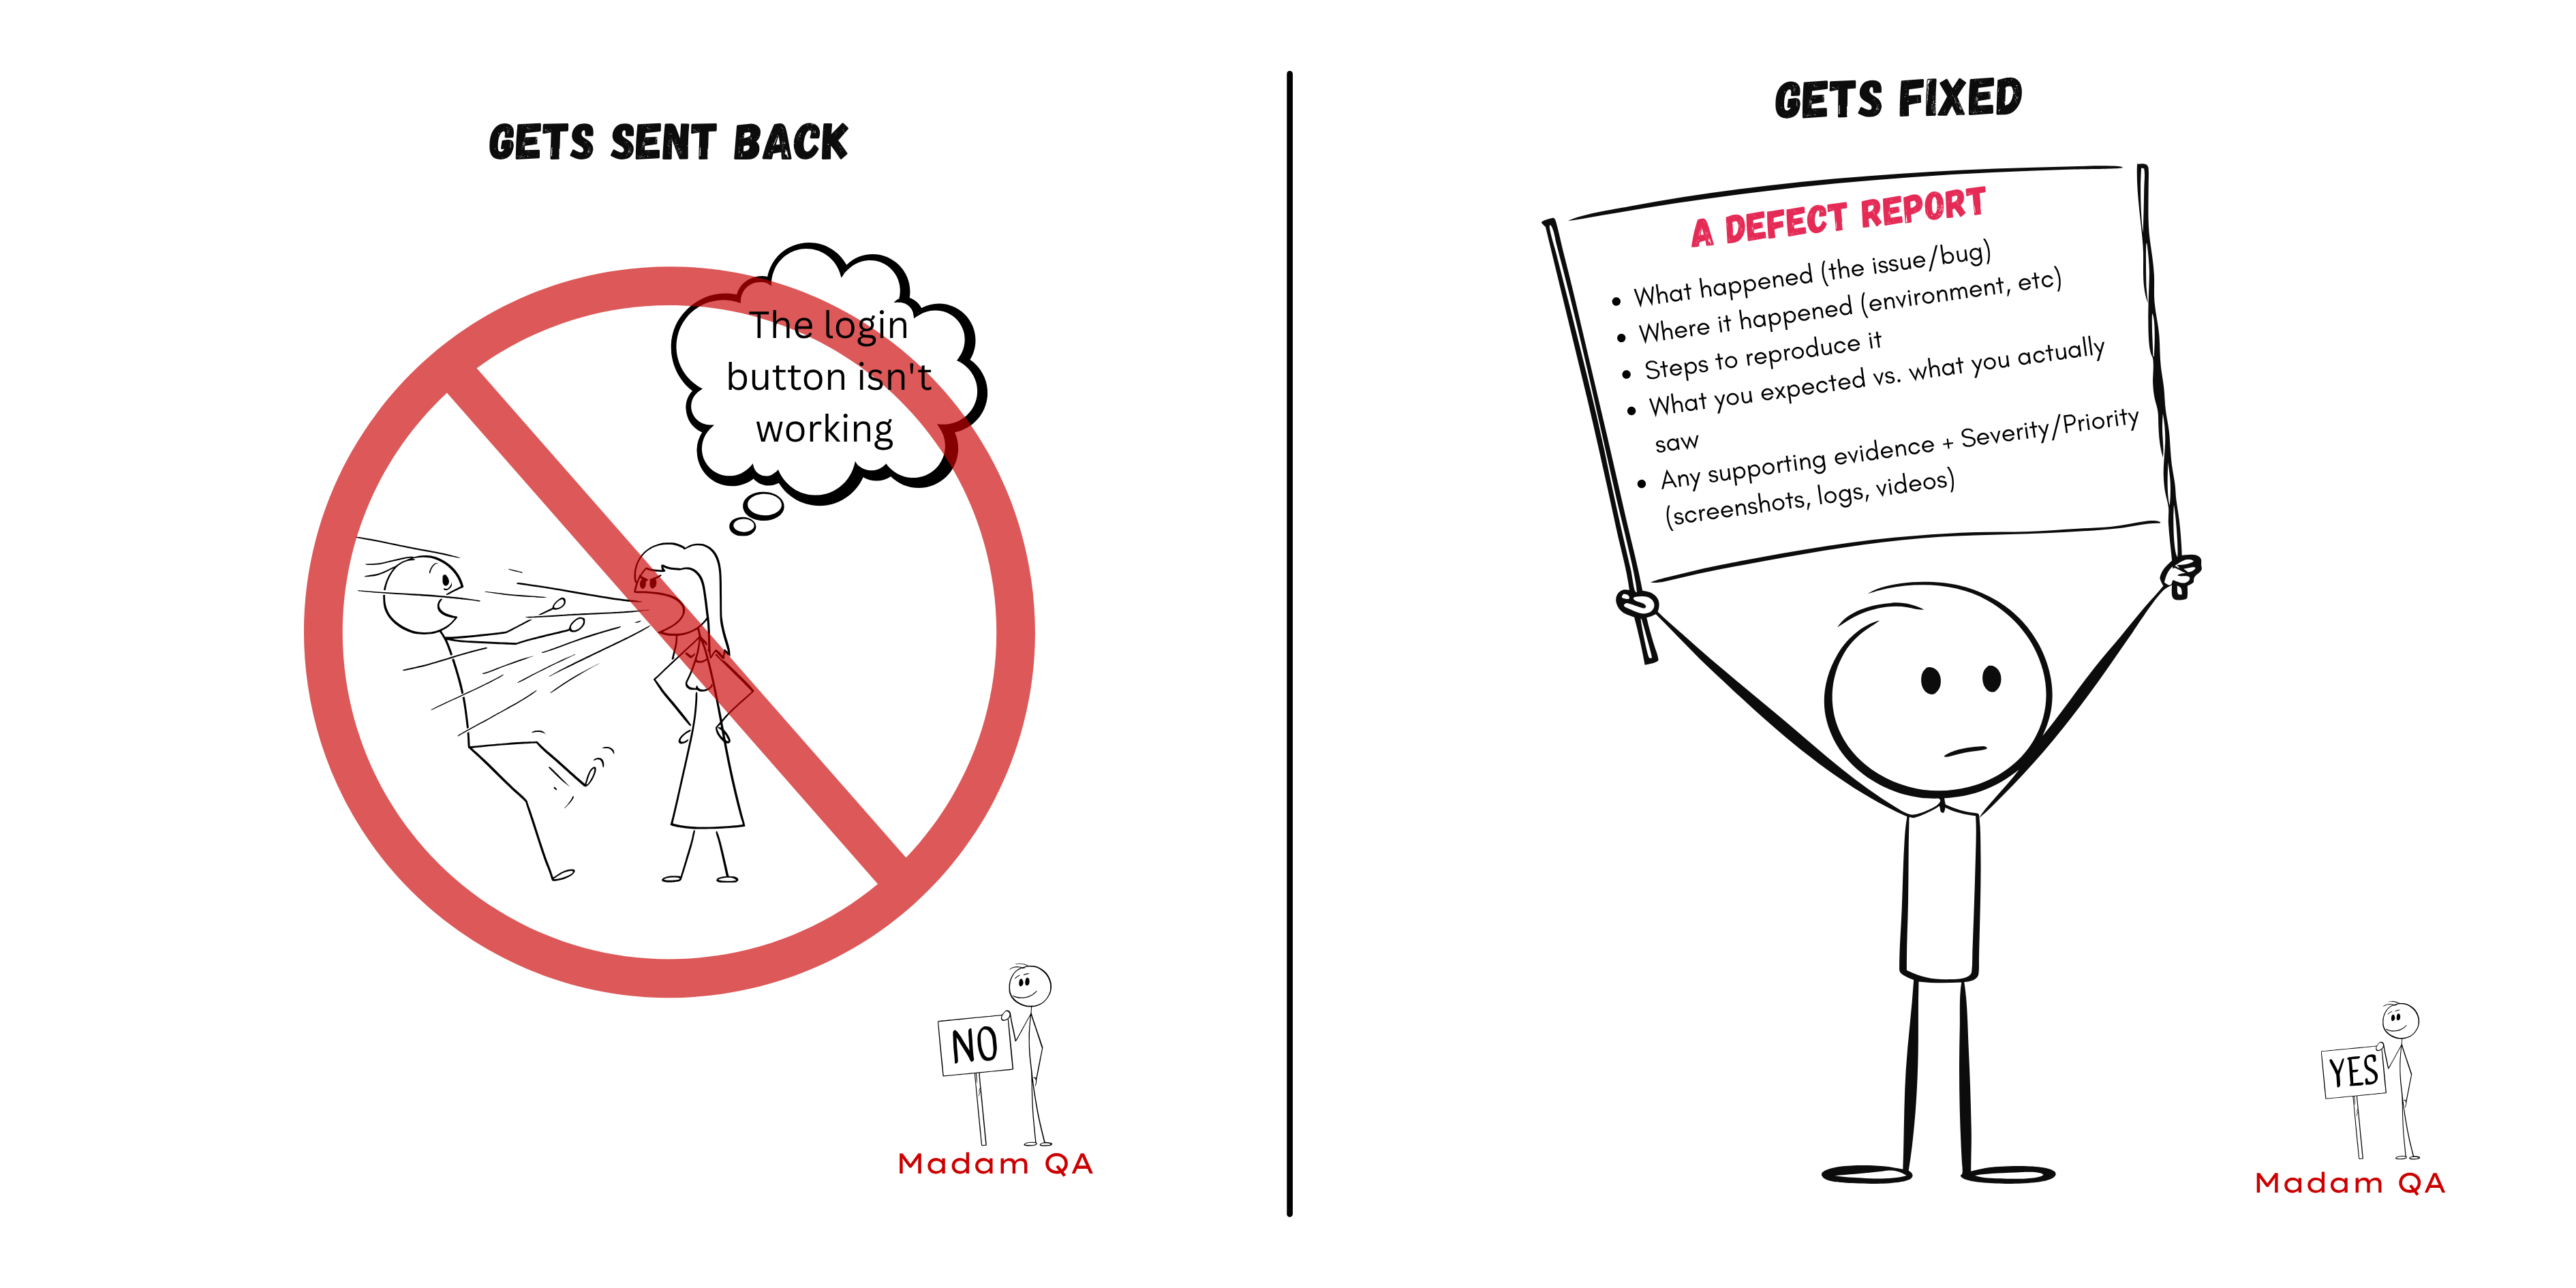
I personally use the popular 5W's and H to tell the story of the defect, and S and S.P (Supporting Evidence + Severity/Priority) to explain the weight of the defect. I completely made up the term S and S.P., but who knows, maybe one day ISTBQ would adopt the term (haha! 😂)
Telling the Story (5Ws + H)
So here's how it works, when I'm telling the story;
Who: reporter or impacted user group
What: the defect itself (expected vs. actual)
When: the condition/timing (precondition)
Where: the location/context (The environments/ devices)
Why: the impact/importance
How: the steps to reproduce
Example: Defect Story in Action
Here's a table to help break down the story
| Question | Mapped Component | My Example Entry |
| Who? | • Reported by• Affected user | • Reported by: Matachi - QA Engineer• Affected user: Any offline user |
| What? | • Title• Expected vs Actual Result | • Title: App crashes when tapping Profile tab while offline • Expected Result: Show “No Internet Connection” screen • Actual Result: App crashes instead |
| When? | The precondition | • Precondition: Network state: Offline (Wi‑Fi & Mobile Data off) - The user must be offline |
| Where? | • Screen or feature name • Environment/Devices | • Screen/Feature: Profile tab (bottom nav, 3rd icon) • Environment/Devices: Staging environment → Samsung Galaxy S20 |
| Why? | •The impact/importance | • Impact: This blocks access to the product and impacts customer experience |
| How? | • Steps to Reproduce• | • Steps to Reproduce: 1. Launch the app.2. Disable Wi‑Fi & Mobile Data 3. Tap Profile tab |
| Impact? | • Priority• Severity | • Priority: High (blocks user flow)• Severity: Critical (app crash) |
Explaining the Weight (Severity, Priority, Evidence)
After telling the story, we break down the impact and the weight of the defect.
Supporting Evidence: Screenshot, recording, or error logs.
Severity/Priority: High, Blocks users from logging in.
⚖️Example: Defect Weight + Supporting Evidence
| Element | Purpose | Examples |
| Severity | Describes the impact on the system if the defect is not fixed. | - Low: typo, cosmetic issue- Medium: functionality broken but workaround exists- High: core functionality broken- Critical: system unusable/data loss |
| Priority | Describes the urgency for the business to fix the defect. | - Low: nice-to-have fix- Medium: fix in next sprint/release- High: must fix soon- Critical: immediate fix required, blocks release |
| Supporting Evidence | Provides proof that the defect exists, helping devs reproduce and fix it faster. | - Screenshots 📸- Screen recordings 🎥- Logs 📝- Test data used |
Always remember the most important thing in defect writing is to give a clear explanation of the bug found. This makes it easier for the developers and anyone on the team to understand what is reported.
Quick Checklist for a Solid Defect Report:
1. Keep it clear and concise
2. Add supporting evidence (screenshots, logs, recordings)
3. Explain severity & priority
4. Make it reproducible with steps
I understand that putting all this together, especially with tight deadlines, can be time-consuming. I wrote an article on Testers Connect that explains how I’ve used AI to improve my defect reports.
I’d love to hear how you approach defect reporting. Drop your tips or struggles in the comments!
Thanks for reading 😊


